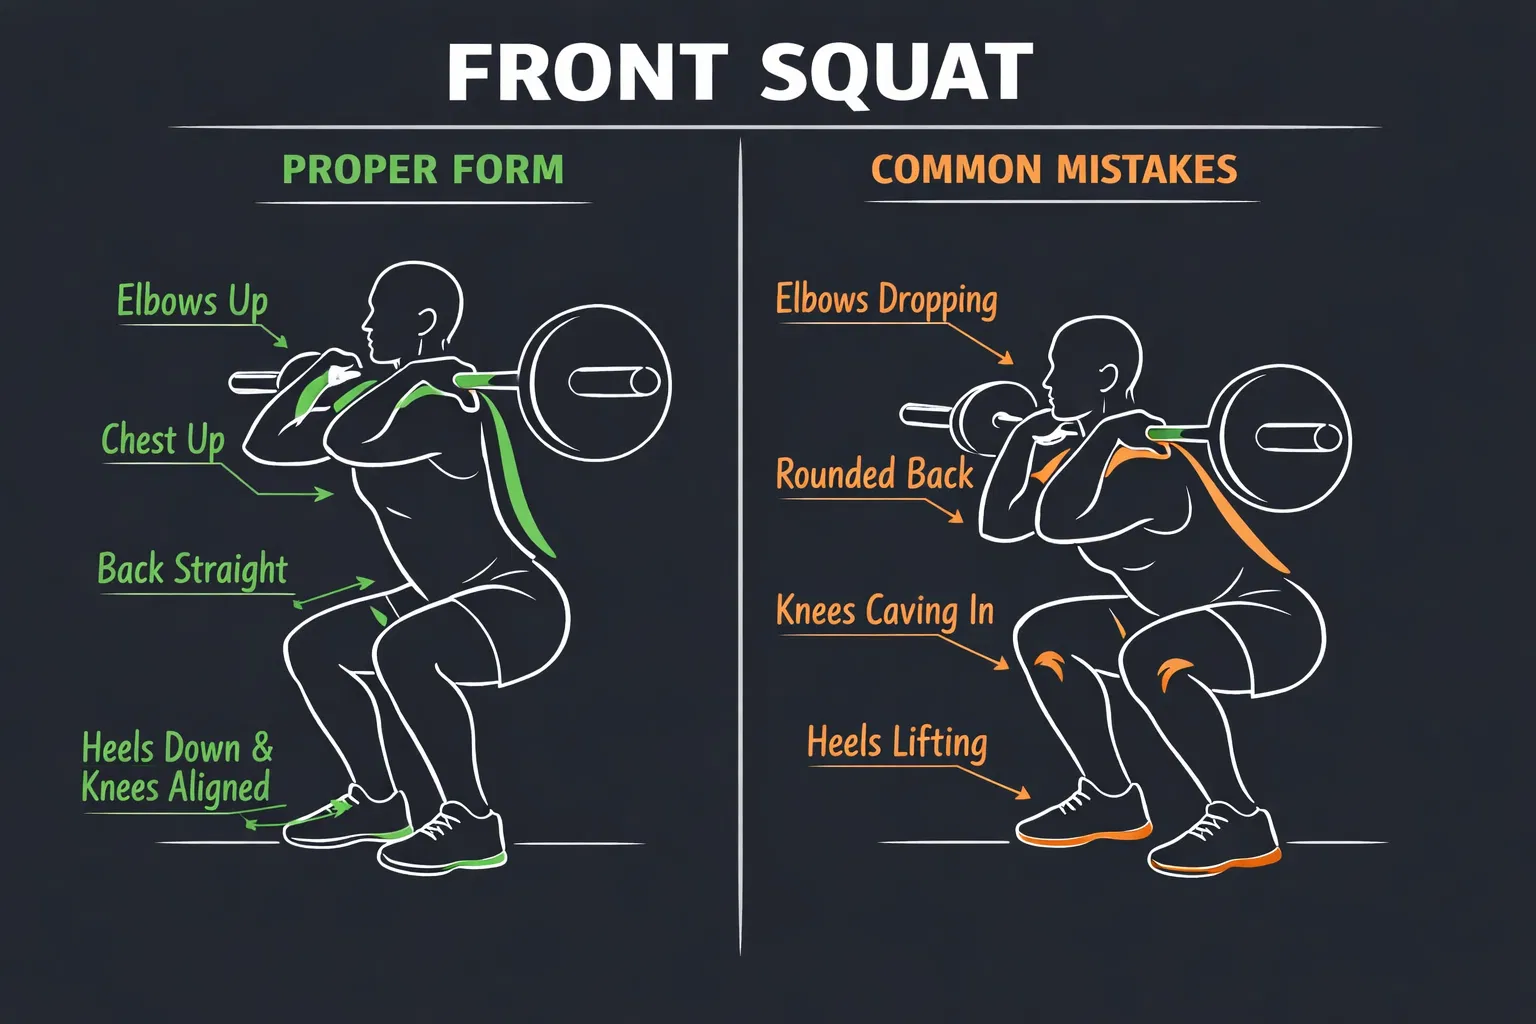
The ten step breakdown
Five of these happen before the bar ever moves. That is where most reps are won or lost.
Before the rep
Stance and balance
Feet slightly wider than shoulder width, toes out 25 to 45 degrees.
Bar placement
The bar rests on your front deltoids. Fingertips lightly touch it for guidance only.
The setup
Deep breath into your belly. Engage your core. Tighten your upper back until you feel solid.
Bracing the core
Brace hard and keep that tension through the entire lift, not just the first rep.
Unracking
Take the bar out of the rack in a split stance, one foot forward like a lunge, rather than squared up. It gets the bar sitting where you actually want it and stops you shifting under it. Then step back with control, two or three small steps to clear the rack.
Going down
Bar path and depth
The bar travels straight up and down. Knees track over toes. Hip crease at or below the knee.
The descent
Lower under control. No collapsing, no bouncing. You control the weight.
Bottom position
Chest up, elbows high, core braced. You should feel stable and strong, not folded over.
Coming up
The ascent
Drive through your whole foot and push the floor away. Chest up, elbows high the whole way.
Rep completion
Stand all the way up and re-brace before the next rep. Never lose tension between reps.
Grip
Front rack grip
Fingertips lightly touch the bar. The bar rests on your shoulders. Elbows high and forward. This distributes the load safely and lets you keep loading it.
Straps
Straps take pressure off your wrists while you build the mobility to hold a real front rack. Use them as training wheels, not as the destination.
It costs you the position
Crossing your arms drops your elbows and rounds your upper back, which pitches the bar forward exactly where you cannot afford it. You also cannot brace as hard, and you have to unwind both arms to bail. Worst of all it hides the mobility problem instead of fixing it, so you stay stuck at the same weight for years.